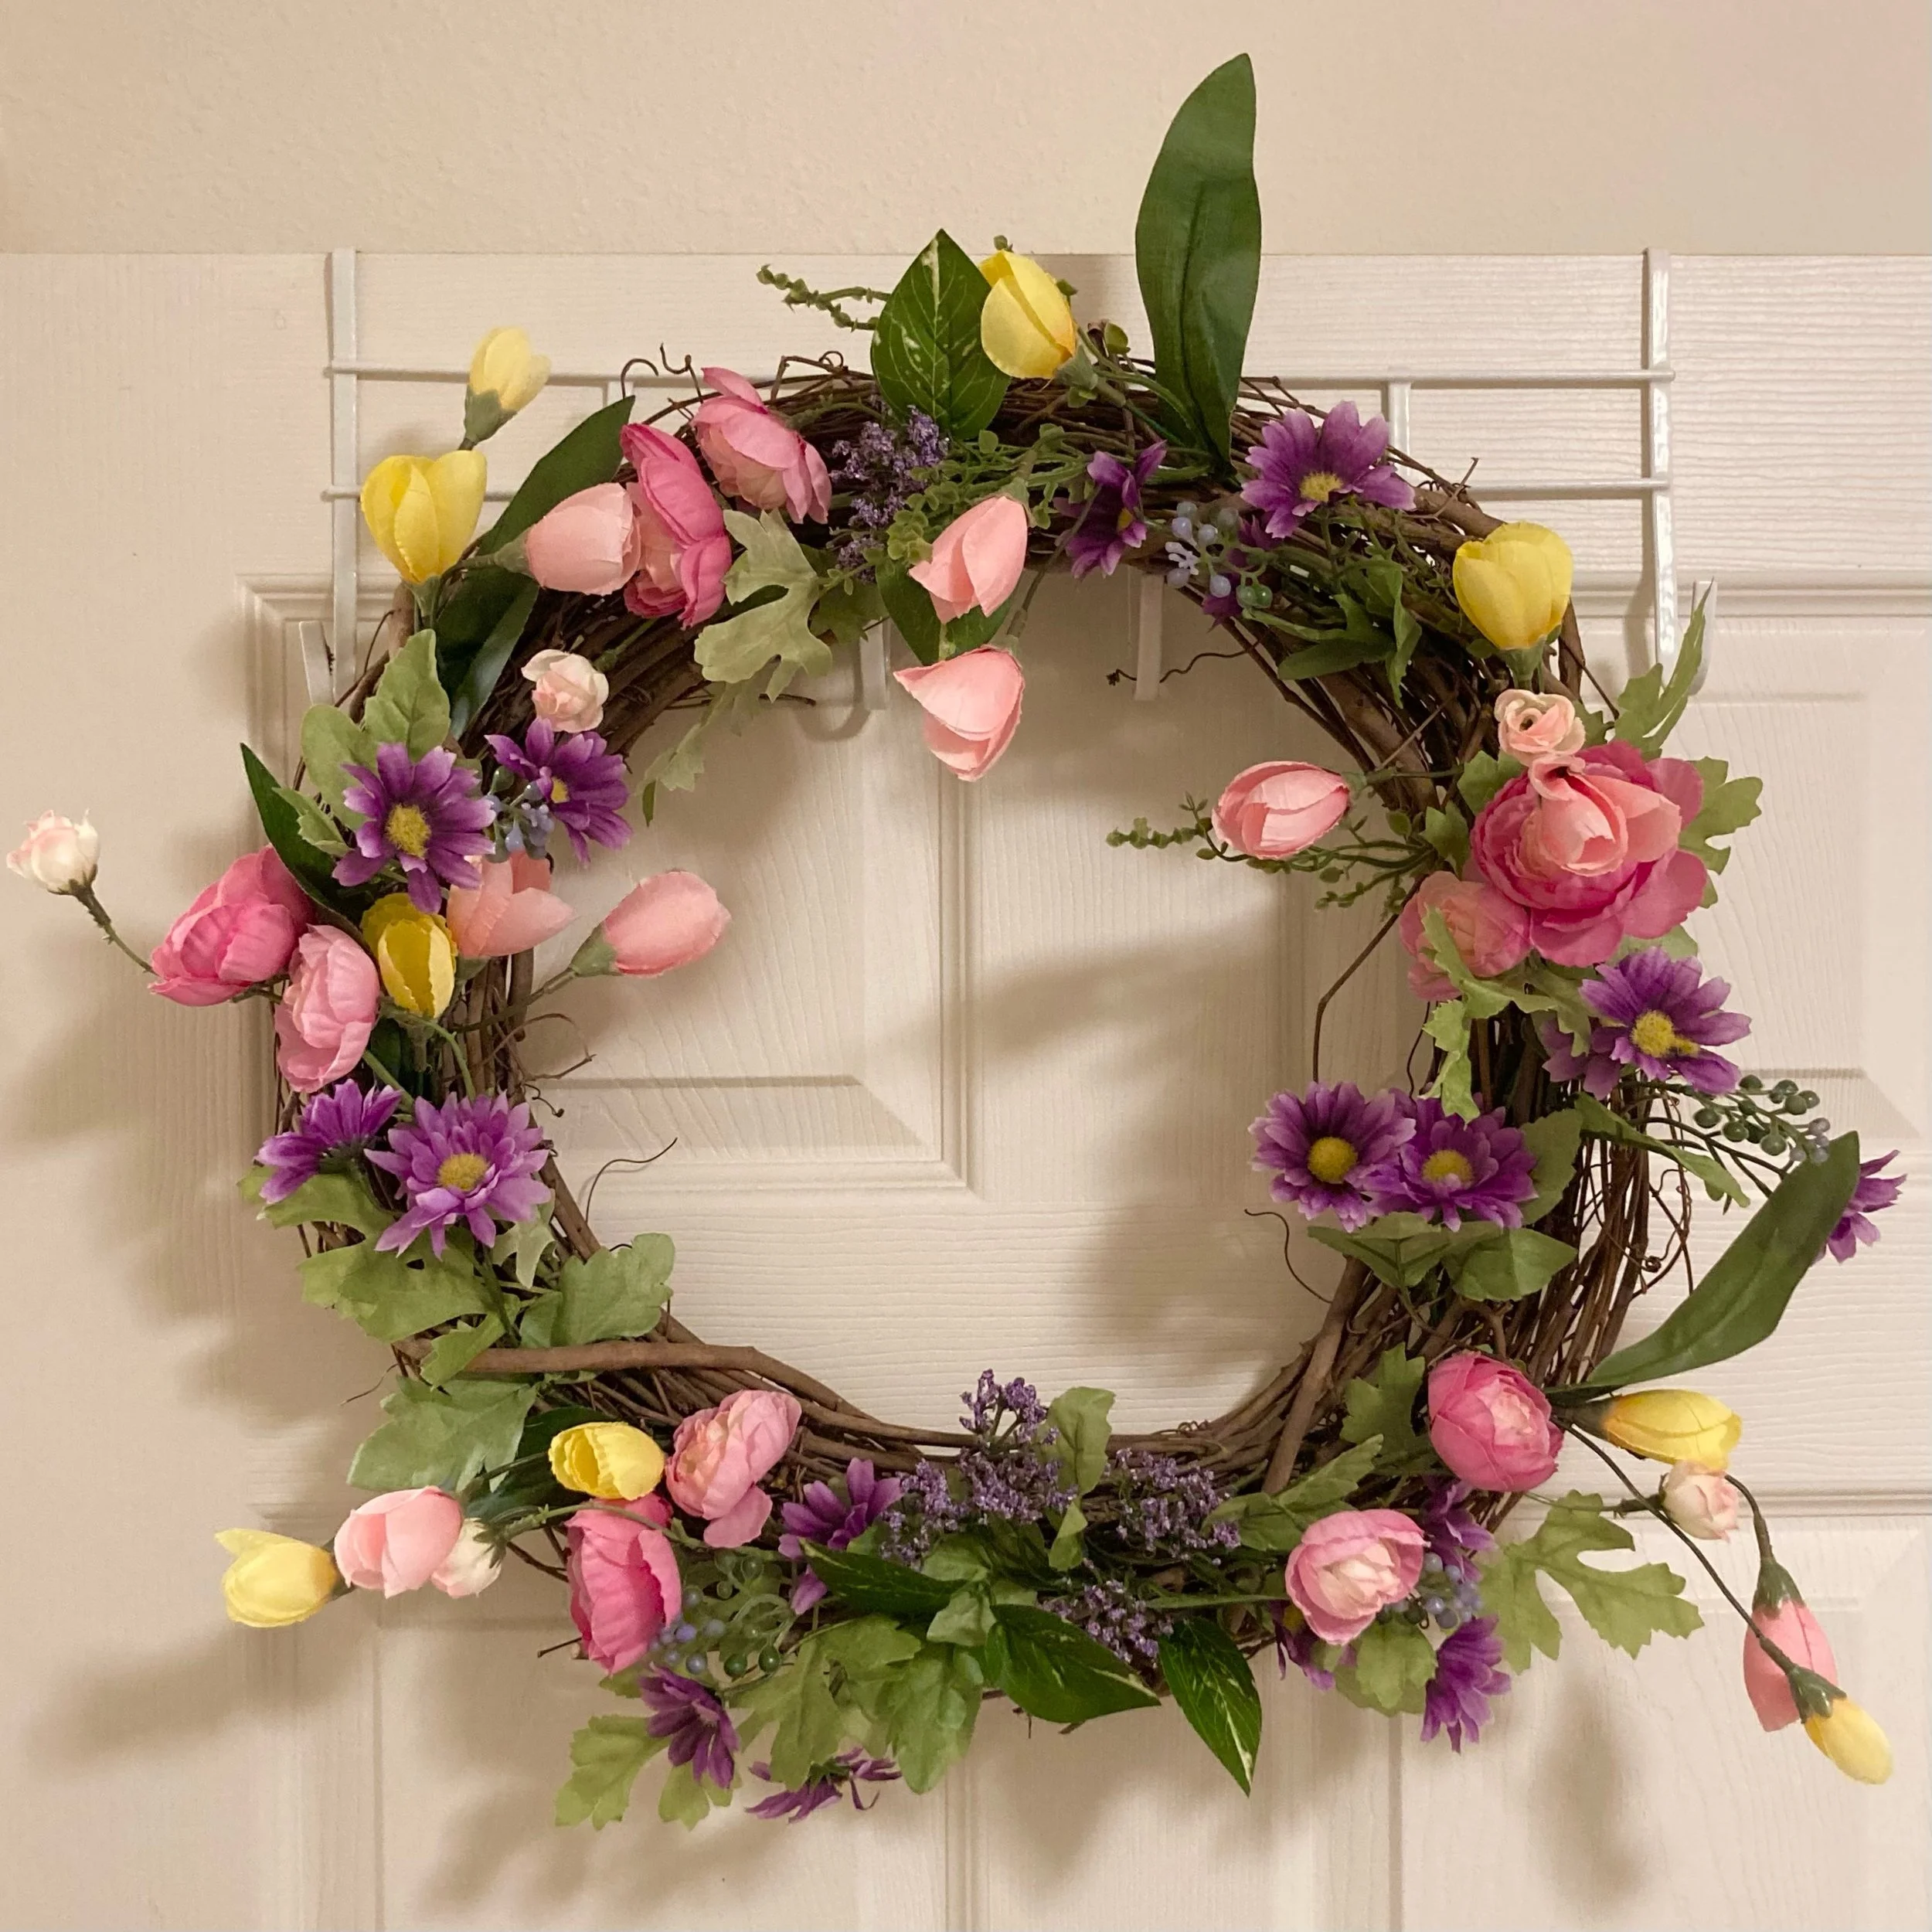
In Which We Make A Reusable Wreath
HELLO PALS,
In a Shocking Departure from our Usual Content, today we are going to talk about one of my most favorite Decor Tips: swapping different fake flowers into a grapevine wreath for each season.
If you are saying “why swap them out instead of leave them there forever,” WELL, you can do as you please, but I don’t want to store Multiple Off-Season Wreaths when the flowers will fit in a much smaller space by themselves. Also, this way I get to practice for the floral design career I could have had in 2017, but they hired someone else, so I kept wrecking my back cleaning stalls. A Time.
Anyway, for this Delightful Tutorial, you will need a grapevine wreath, fake flowers, and wire cutters. You can procure all these items at craft stores like Joann Fabric and Michael’s, and I highly suggest waiting until they go on sale, because you can get wild deals like BUY ONE GET TWO FREE FLORAL PIECES. I usually figure on three different “bushes” (multiple flowers and leaves gathered together) to make one wreath. It’s also usually cheaper to cut apart the bushes instead of buying individual “picks” or “stems.” As you can see below, the wreath is best assembled on a Work Surface such as a garbage bag for easy cleanup of the tiny grapevine pieces that inevitably break off while you’re wrestling with the flowers. (Also, I think the garbage bag lends a lot of Class And GlamourTM to these photos.)
Once you have secured your Ingredients, cut each wire stem off the bush. I sort them by flower type so it’s easier to make a symmetrical arrangement. You might be able to move some items around—sliding leaves up or down the stems, taking flowers off and reattaching them somewhere else, etc. Keep this in mind when you start to Arrange.
Once you’ve decided which end of your wreath is the top (I choose the likeliest spot to grab a command hook on the door), I like to start with the bottom of the wreath and create a roughly symmetrical focal point. If I only have a few of one type of flower, this is where I’ll use them. Start with the middle and then work outward, trimming the stems as needed and tucking them into the grapevines. (It sometimes helps to bend the stems into a slight curve so they slip into the wreath without the ends sticking out the back, where they might scratch the door. The goal is to make them stay put despite High Winds And Weather, but be able to take them out when it’s time to swap out the flowers.) Here’s what mine looked like after the first round of flowers went in.
Work up the sides, tucking the new flowers behind the old ones, until they meet at the top. I like to keep things vaguely symmetrical and do all of one type of flower at a time, in the same order, then fill the gaps as needed.
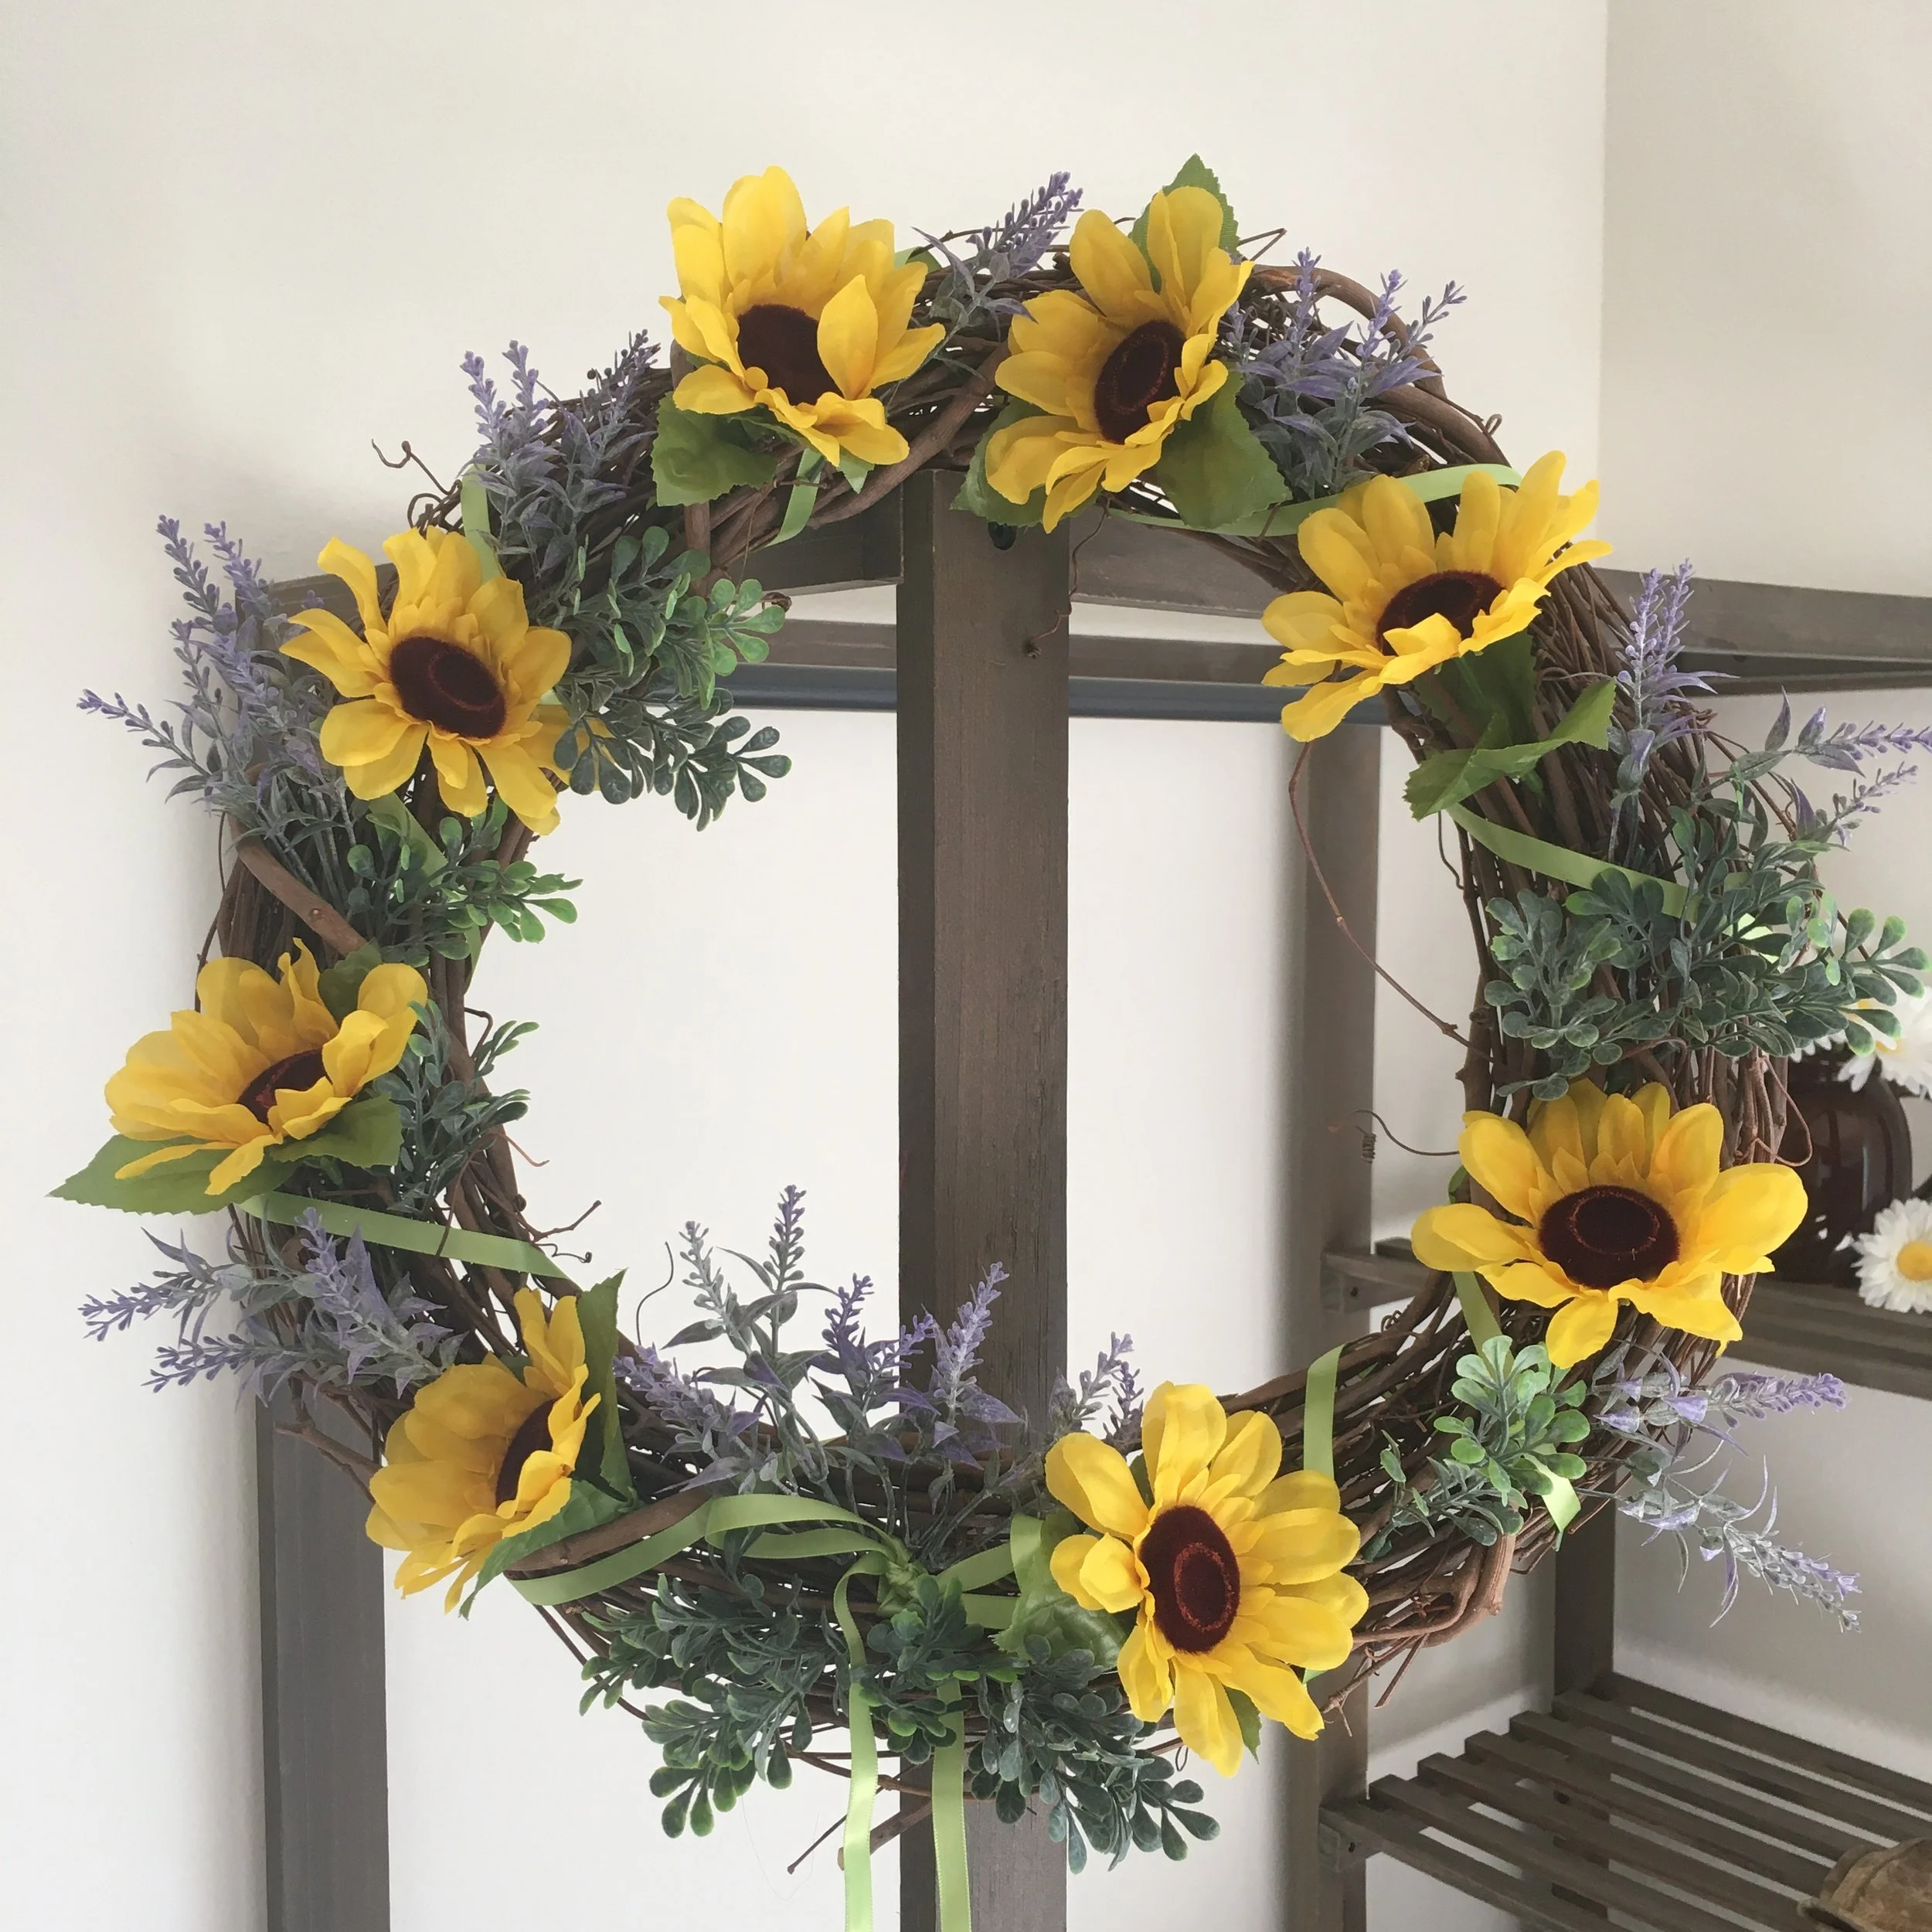
When you’re done, VIOLA! (That’s an unintentional flower pun.) You have created a Beautiful and Festive Work of Beauty, and in a couple of months you can do it all over again. For example, this is last summer’s version, which used flowers and greenery from Walmart plus a ribbon for Extra Charm.
With best wishes for an A+ sale on fake flowers,
I remain,
YOUR PAL.


